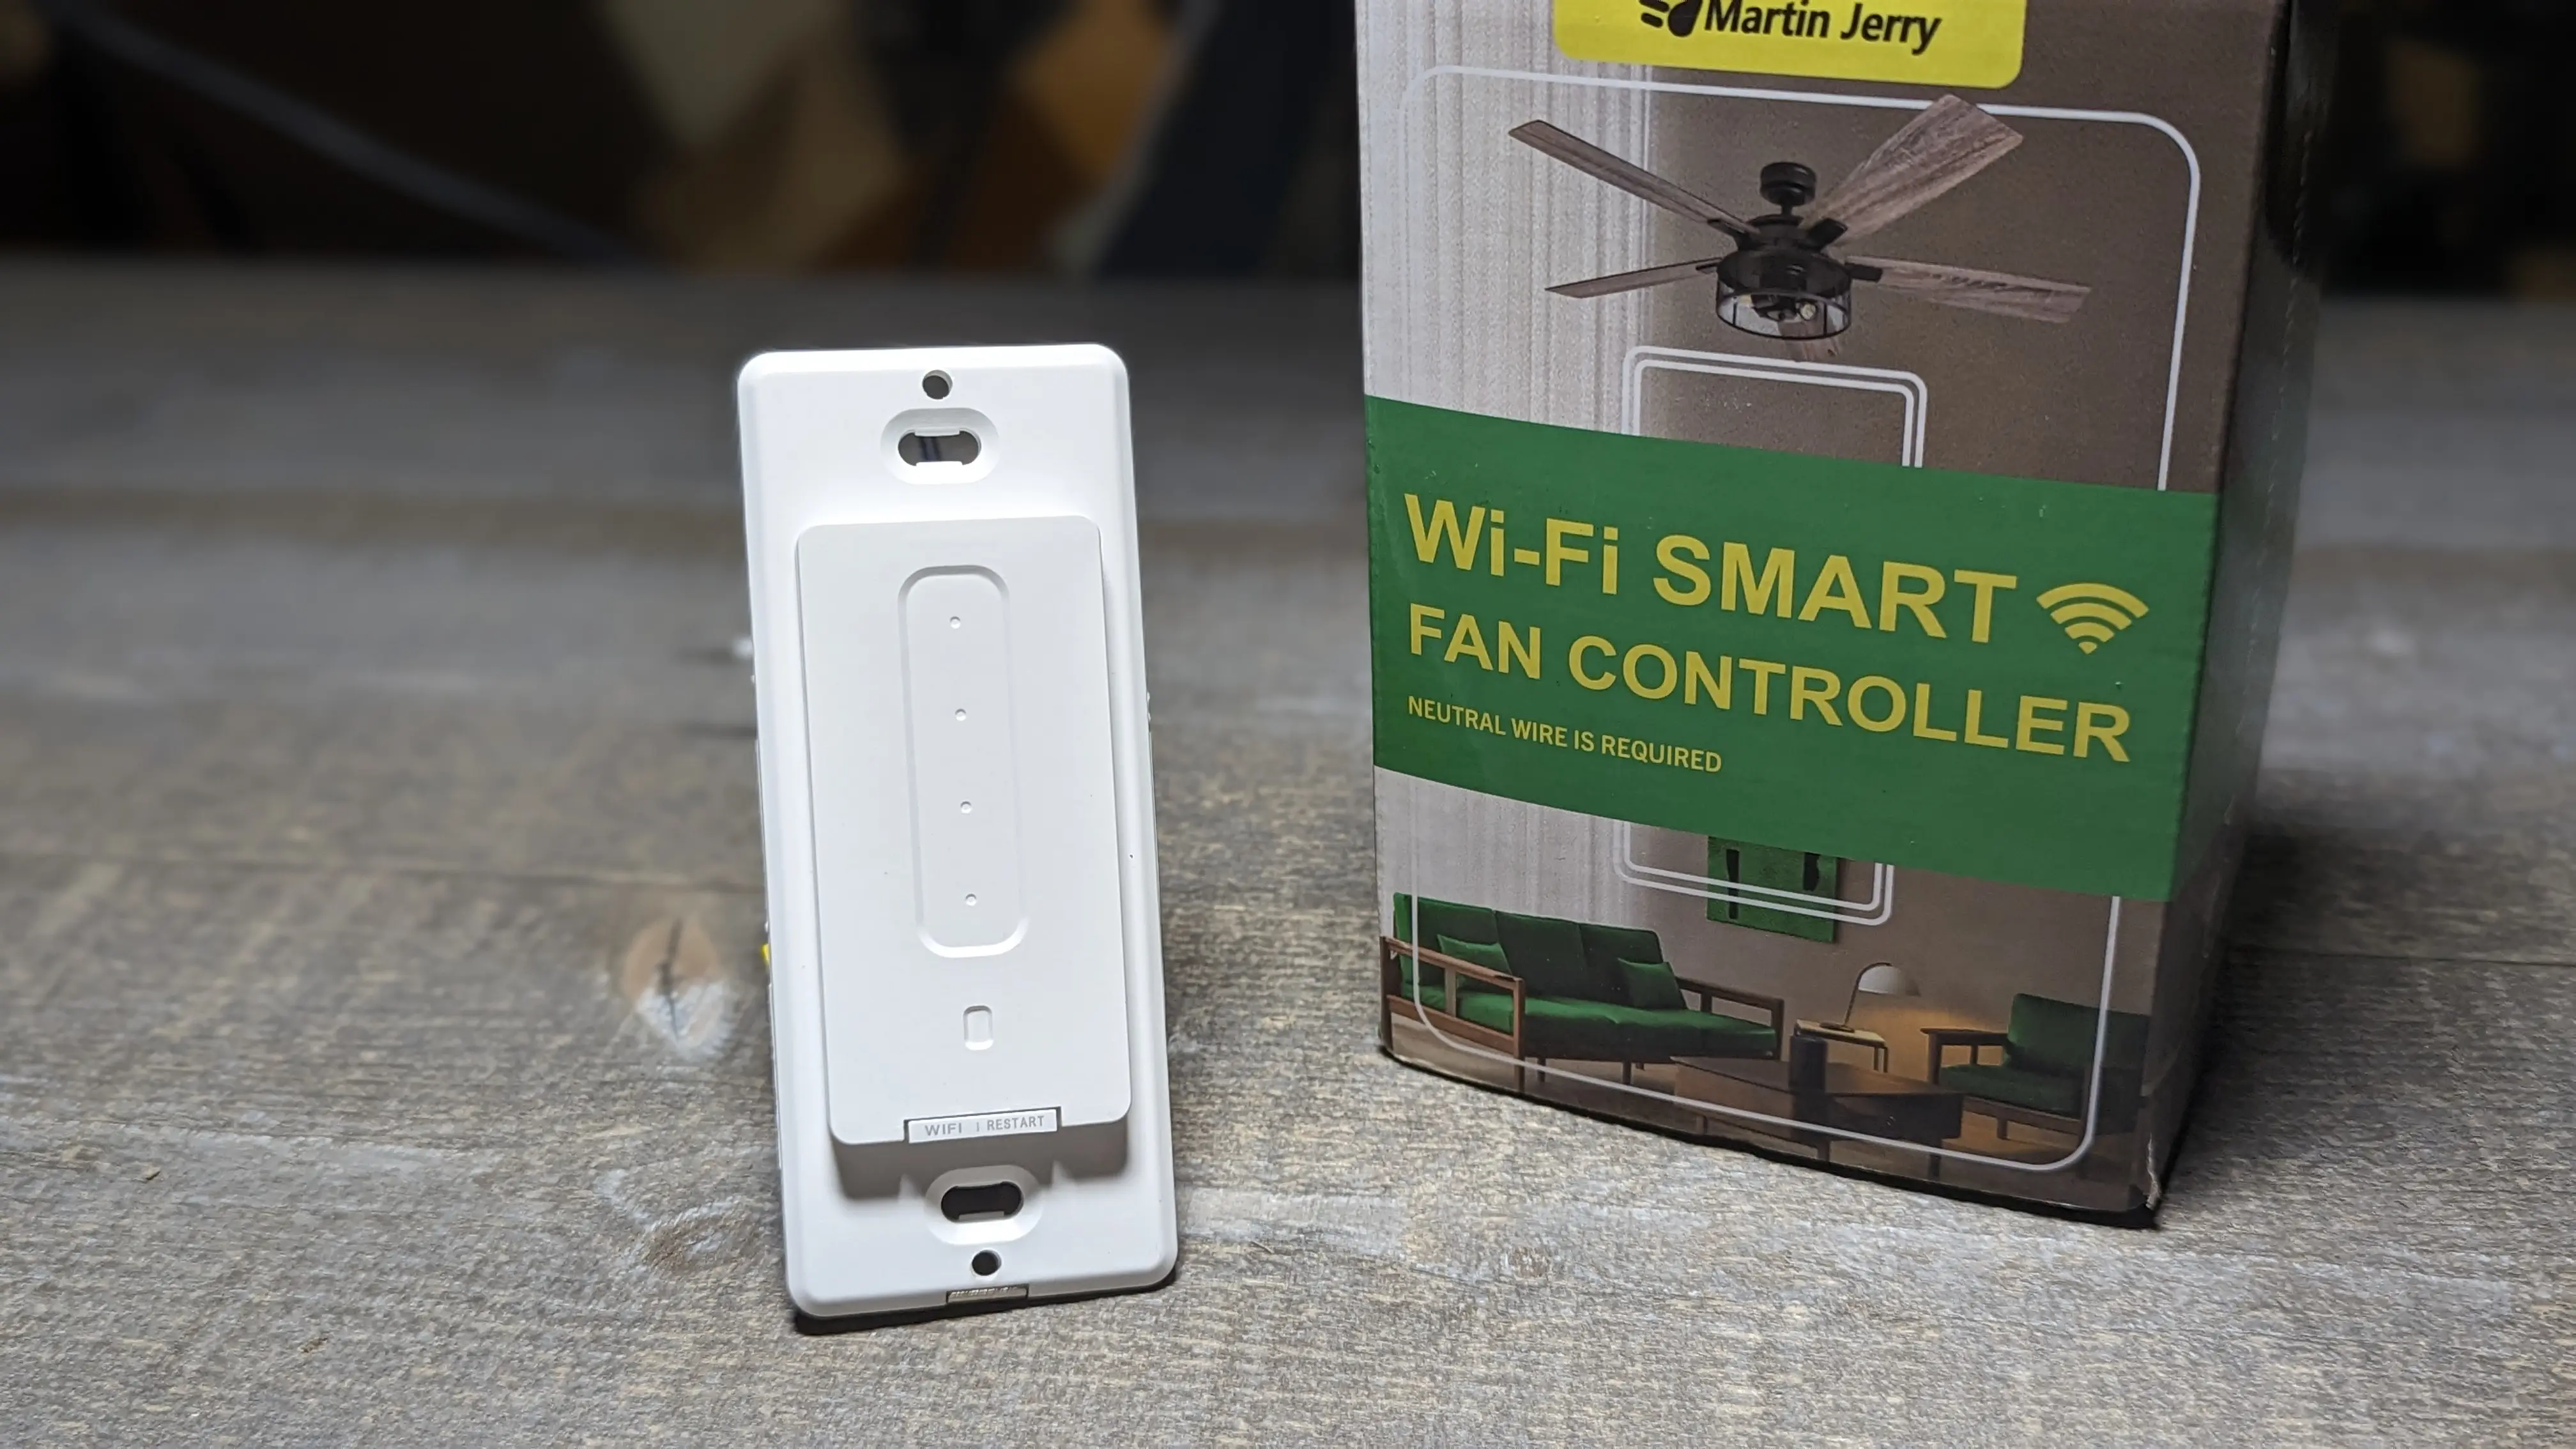
Martin Jerry Fan Speed Controller US-FC-01
Single Gang Decora 4 Speed Fan Controller. This switch has a touch panel with LEDs behind it to indicate the fan speed. It is designed for typical 3 speed ceiling fans. As of the 10/01/2022, Martin Jerry is now offering a TASMOTA Pre-flashed model that doesn't require flashing or even a chip swap!
Pre-Flashed with TASMOTA Purchase on Amazon
NOTE: The pre-flashed version comes with some settings already set in the default firmware on the device. I've included them all below in case the switch is upgraded to a later release of TASMOTA and set to default settings which would remove the preconfigure MJ factory settings.
Detailed video integration
Tasmota Template
None necessary. Tasmota GUI -> Configuration -> Configure Module -> Tuya MCU (54)
OR
issue a Module 54 command on the Tasmota Console.
Settings
Set the following on the TASMOTA Console
| Setting | Description |
|---|---|
| tuyamcu 11,1 | Assign Relay1 to dpID 1 |
Rules
OPTION A: Does NOT turn the fan on when the speed/preset is changed:
Rule1 on TuyaReceived#Data=55AA03070005030400010016 do publish2 stat/%topic%/speed 3,0 endon
      on TuyaReceived#Data=55AA03070005030400010117 do publish2 stat/%topic%/speed 3,1 endon
      on TuyaReceived#Data=55AA03070005030400010218 do publish2 stat/%topic%/speed 3,2 endon
      on TuyaReceived#Data=55AA03070005030400010319 do publish2 stat/%topic%/speed 3,3 endon
OPTION B: The fan turns on when the speed/preset is changed:
Rule1 on TuyaReceived#Data=55AA03070005030400010016 do backlog power1 1 ; publish2 stat/%topic%/speed 3,0 endon
      on TuyaReceived#Data=55AA03070005030400010117 do backlog power1 1 ; publish2 stat/%topic%/speed 3,1 endon
      on TuyaReceived#Data=55AA03070005030400010218 do backlog power1 1 ; publish2 stat/%topic%/speed 3,2 endon
      on TuyaReceived#Data=55AA03070005030400010319 do backlog power1 1 ; publish2 stat/%topic%/speed 3,3 endon
Enable the rule with the following
Rule1 1
Home Assistant Integration
On the TASMOTA Web GUI -> Configuration -> Configure Other
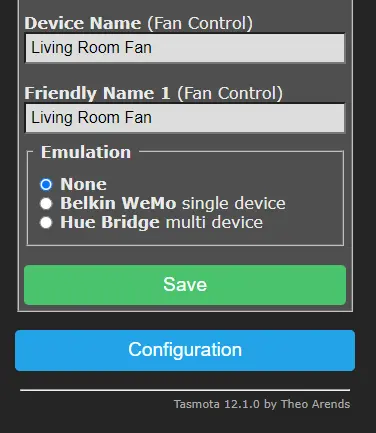
Set a Device Name and Friendly Name 1.(For example: Living Room Fan) Save the changes.
On the TASMOTA Web GUI -> Configuration -> Configure MQTT.
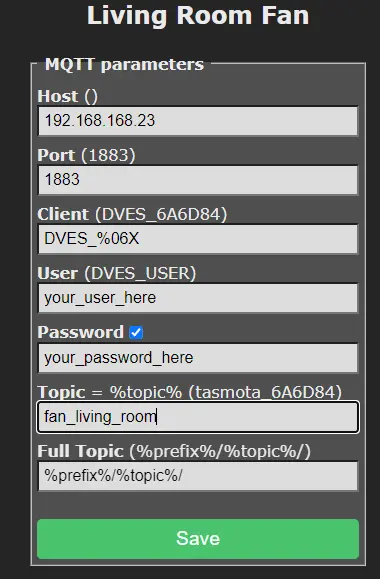
Set your MQTT Settings: Host, User, Password and Topic. You do not need to change the fulltopic or client. Save the Settings
There are two methods for integrating the Fan Controller into Home Assistant. The auto discovery method is the easiest method but due to the size of the auto discovery packet, we are not able push over the fan preset speeds. You will still be able to change the speed and turn it on and off. The method with the presets involves manually adding the controller info into the HA configuration.yaml file. Choose the method you are comfortable with.
Home Assistant Integration (Auto Discovery)
On the TASMOTA Console of the Fan Controller paste in the following rule
Rule3
ON DeviceName#Data DO Var1 %value% ENDON
ON SYSTEM#BOOT DO backlog DeviceName ENDON
ON Var1 DO publish2 homeassistant/fan/%macaddr%_fan/config {"name":"%Var1% Fan","uniq_id":"%macaddr%_fan","stat_t":"stat/%topic%/POWER1","cmd_t":"cmnd/%topic%/POWER1","avty_t":"tele/%topic%/LWT","pct_stat_t":"stat/%topic%/speed","pct_val_tpl":"{{((value|replace(\"3,\",\"\"))|int(0)+1)*25}}","pct_cmd_t":"cmnd/%topic%/tuyasend4","pct_cmd_tpl":"3,{{((value|int(0)-1)/25)|int(0)}}","pl_avail":"Online","pl_not_avail":"Offline","pl_on":"ON","pl_off":"OFF","dev":{"connections":[["mac","%macaddr%"]]}} ENDON
Thanks to tony-fav for the conversion work on this!
Enable the Rule with
rule3 1
and restart the switch. You can enter restart 1 on the console or use the restart button on the main GUI page. Open up Home Assistant, go to Integrations, and under MQTT Devices the fan controller should now be listed.
Home Assistant Integration (w/ Speed Presets)
If you already have a fan section under the MQTT tag do not duplicate these sections in your Configuration YAML file. Don't forget to change the "fan_living_room" topic to the MQTT topic configured in your fan switch MQTT page of Tasmota from the previous steps
As of 2022.6 Home Assistant MQTT Fan configuration below:
mqtt:
  fan:
    - name: "Living Room Fan"
      qos: 1
      state_topic: "stat/fan_living_room/POWER"
      command_topic: "cmnd/fan_living_room/POWER"
      availability_topic: "tele/fan_living_room/LWT"
      percentage_state_topic: "stat/fan_living_room/speed"
      percentage_value_template: '{{ ((value | replace("3,","")) | int + 1) * 25 }}'
      percentage_command_topic: "cmnd/fan_living_room/tuyasend4"
      percentage_command_template: "3,{{ ((value | int - 1) / 25) | int }}"
      preset_mode_state_topic: "stat/fan_living_room/speed"
      preset_mode_value_template: '{{ value | replace("3,0", "turtle") | replace("3,1", "low") | replace("3,2", "medium") | replace("3,3", "high") }}'
      preset_mode_command_topic: "cmnd/fan_living_room/tuyasend4"
      preset_mode_command_template: '{{ value | replace("turtle", "3,0") | replace("low", "3,1") | replace("medium", "3,2") | replace("high", "3,3") }}'
      preset_modes:
        - "turtle"
        - "low"
        - "medium"
        - "high"
      payload_available: "Online"
      payload_not_available: "Offline"
      payload_on: "ON"
      payload_off: "OFF"
That's it! Enjoy! If you need help feel free to pop into Discord and ask for a hand.
Bonus Home Assistant Card
HA Dashboard YAML - Utilizing the HACS fan-mode-button-row card
entities:
  - entity: fan.master_fan
    type: custom:fan-mode-button-row
    reverseButtons: true
    sendStateWithMode: true
GPIO Layout
| GPIO | Component | Description |
|---|---|---|
| GPIO01 | Tuya TX | MCU Transmit |
| GPIO03 | Tuya RX | MCU Recieve |
ESPHome YAML
substitutions:
  device_name: Fan_name   #CustomizeThis
  friendly_name: Fan  Name #CustomizeThis
  icon: "mdi:light-fan"

esphome:
  name: ${device_name}
  platform: ESP8266
  board: esp01_1m

wifi:
  # https://esphome.io/components/wifi

#web_server:
  #port: 80
  # https://esphome.io/components/web_server.html

logger:
  # https://esphome.io/components/logger

api:
  #password: !secret esphome_api_password
  # https://esphome.io/components/api

ota:
  platform: esphome
  #password: !secret esphome_ota_password
  # https://esphome.io/components/ota

uart:
  rx_pin: GPIO3
  tx_pin: GPIO1
  baud_rate: 9600

tuya:

sensor:
  - platform: wifi_signal
    name: ${friendly_name} Wifi Signal
    update_interval: 60s

  - platform: uptime
    name: ${friendly_name} uptime

fan:
  - platform: "tuya"
    name: ${friendly_name} Speed
    switch_datapoint: 1
    speed_datapoint: 3
    speed_count: 4
Pics

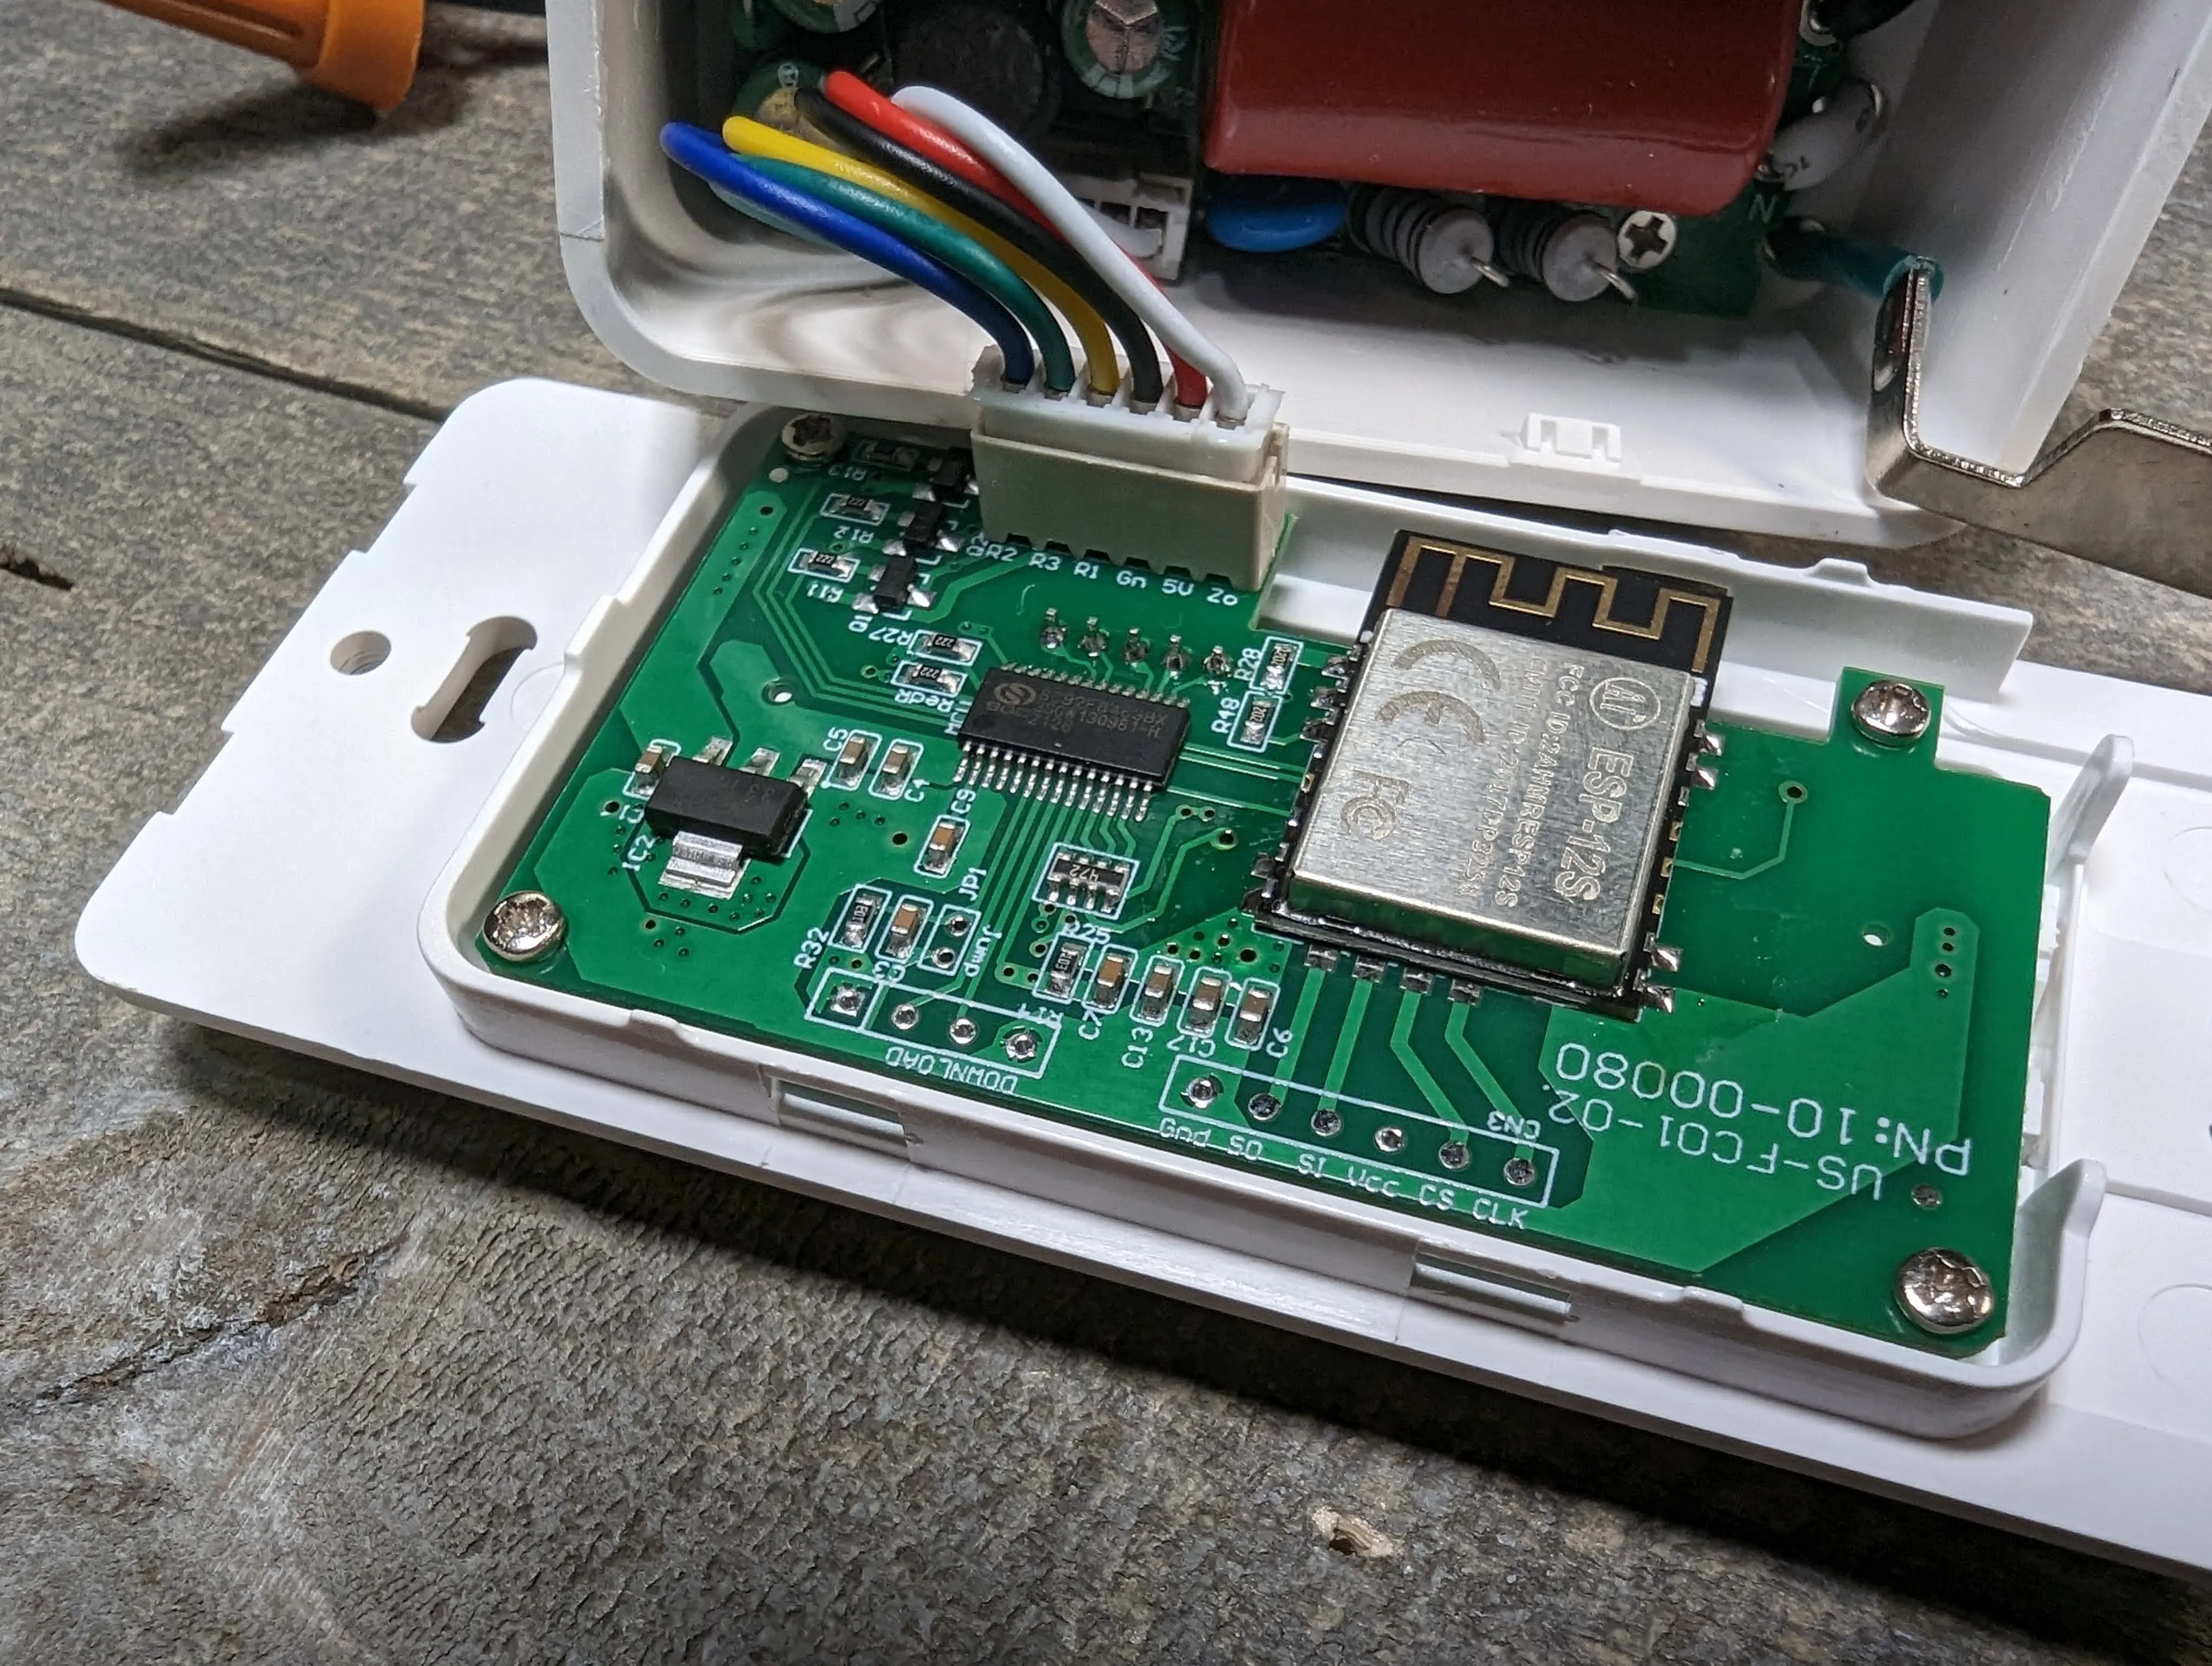
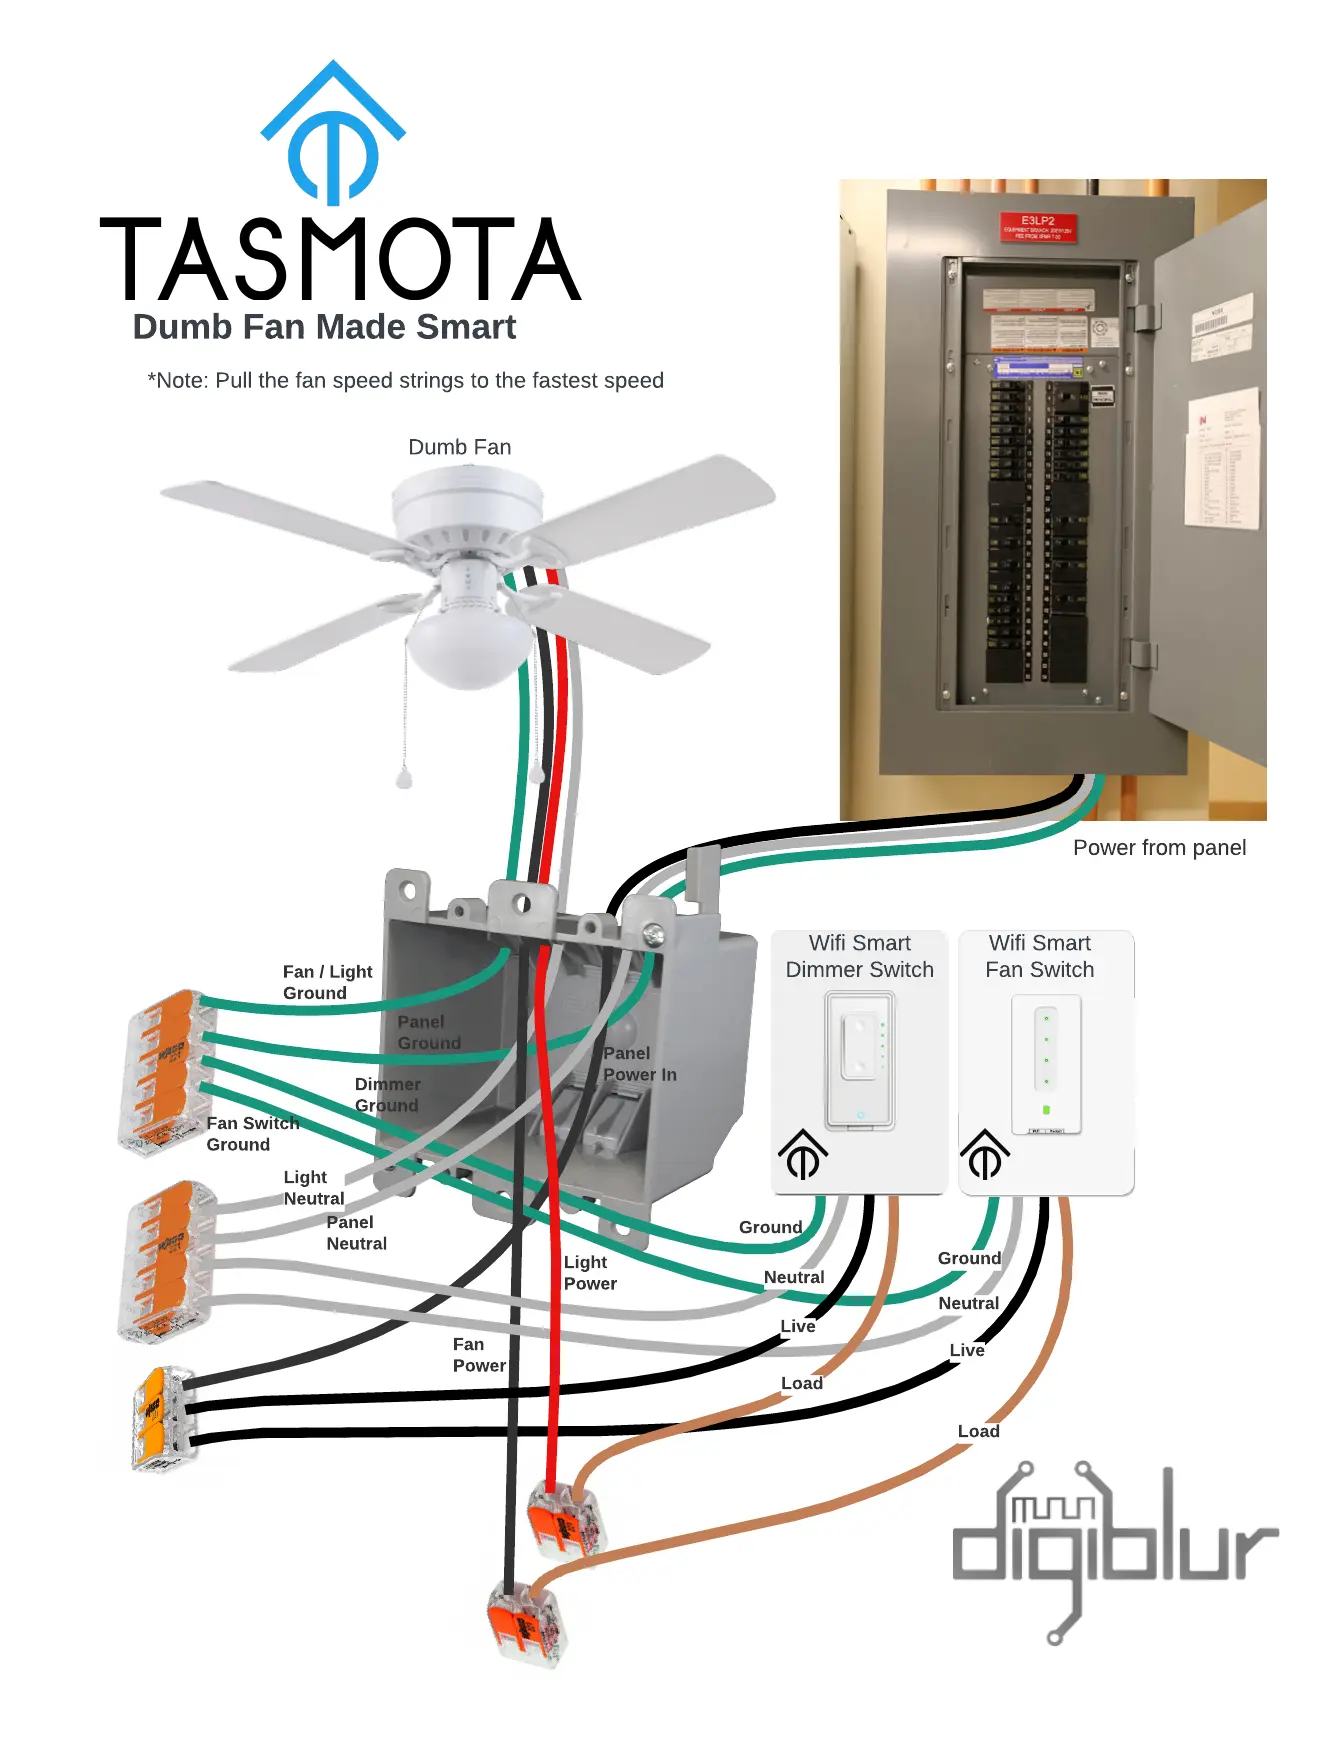
Wiring Diagram
